Clutch Release Flaring Workflow For Uk Vans
Short answer: for mobile refrigeration work, use a clutch-type flaring tool as one repeatable step in a simple sequence: confirm the tube size, cut squarely, deburr, position the tube as the tool requires, form the flare, inspect it, then move to the equipment-specified tightening and commissioning hold points. The clutch release can make tool travel more repeatable; it cannot prove that a flare is compatible, sound or leak-free.
Terminology note: this guide uses clutch-release to mean the stop or release mechanism in a refrigeration flaring tool. It is not about repairing a vehicle's hydraulic clutch line.
Build a compact mobile workflow, not a pile of loose tools
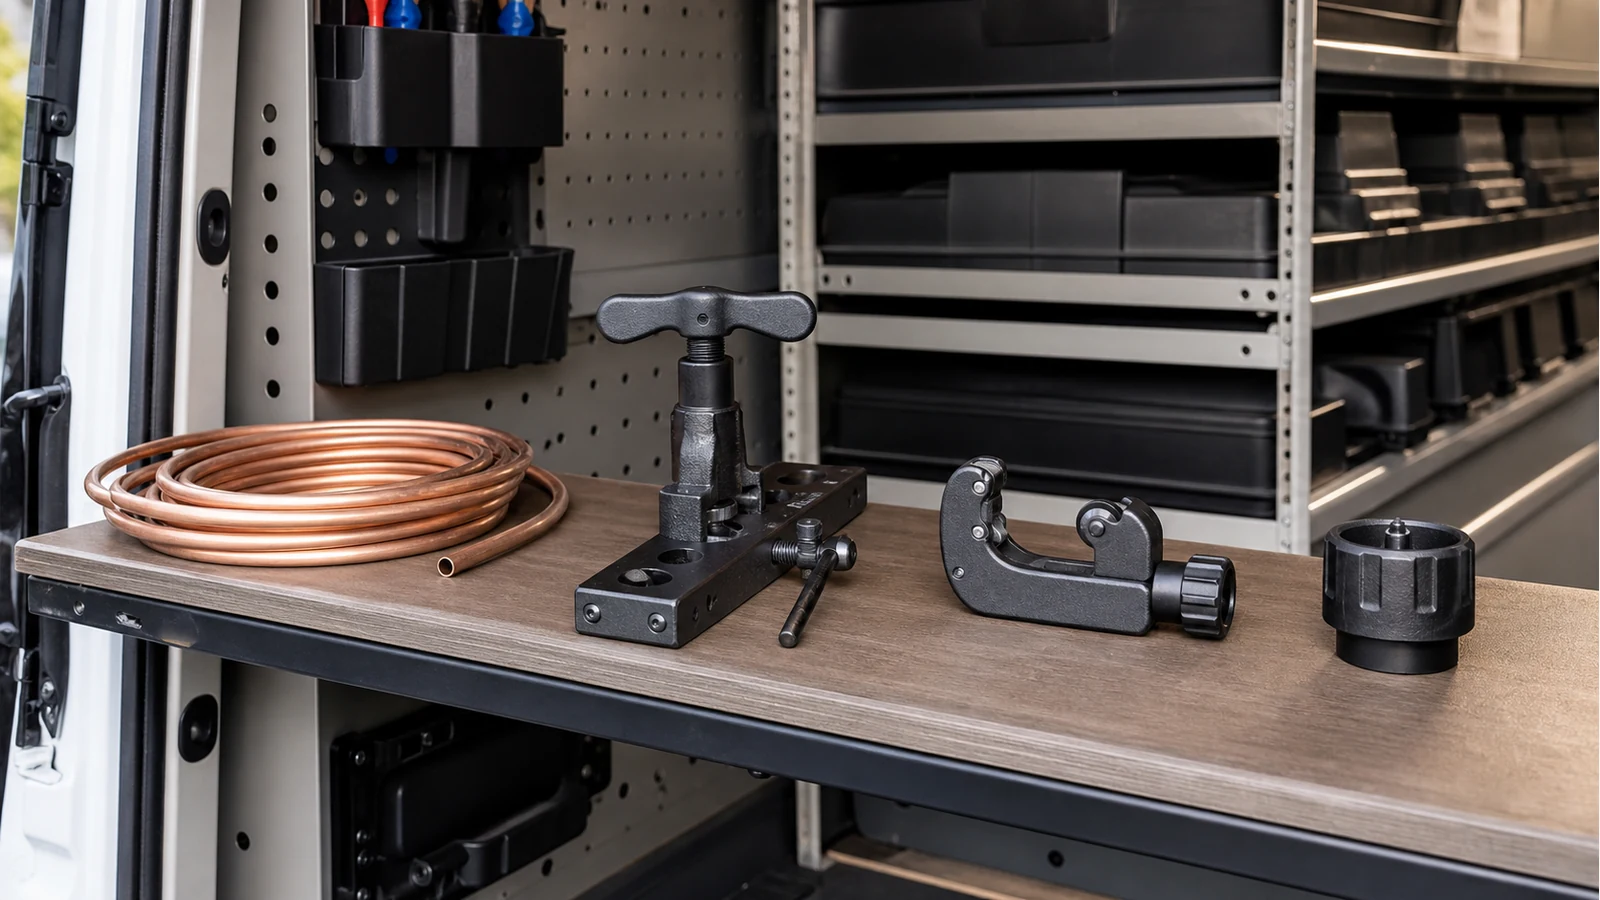
In a van, the most useful improvement is sequence. A cutter, deburring tool, flare bar, forming yoke, clean rag and the right size-confirmation method should be available together. That reduces the temptation to skip a check because a tool is buried in another case or the next call is waiting.
Lay the work out from left to right: identify and measure, cut, deburr, clamp, form, inspect. Keep the tube end protected from swarf and from being knocked against the van bench between steps. If the job cannot be set up cleanly, take a moment to create a stable work area rather than making a flare while the tube is unsupported.
What the clutch mechanism can—and cannot—do
On a clutch-type tool, the mechanism provides a consistent end point for the tool's forming movement when it is used as instructed. That can help the operator avoid judging every turn purely by feel. It does not identify the pipe size, remove burrs, compensate for a mis-set tube projection, inspect the flare face or set the flare-nut torque.
The distinction is visible in a Daikin installer reference guide for its covered R32 split-system range. Its flare procedure illustrates a clutch-type tool, but it still requires a square cut, downward deburring and an inspection for a flawless, evenly circular flare. Tool feedback is therefore one check in the process, not the process itself.
Van-ready seven-step card
- Confirm: identify the unit requirement and the bare copper tube outside diameter. If the markings mix inches and millimetres, consult the metric-versus-imperial flare-bar guide before opening the bar.
- Cut: make a square, clean cut with the suitable cutter; do not begin from a crushed or already flared end.
- Deburr: remove the burr carefully and keep debris out of the tube.
- Position: fit the required nut first, then set the tube in the exact position stated by the tool instructions.
- Form: operate the clutch-type tool smoothly, stopping when its instructed release or stop point is reached.
- Inspect: reject a cracked, thin-looking, scored, uneven or out-of-round flare. If it fails, cut back to sound tube; see the guide to copper flares that crack after cutting.
- Hand over to the connection procedure: align the connection, use the equipment-specified tightening method and keep test and commissioning steps separate from the forming step.
Three checks that prevent rushed repeat work
- Size check before cutting: do not use the case label or the previous job as evidence of the current tube size.
- Visual check after forming: a clutch release is not a pass/fail inspection.
- Torque check at the fitting: use the unit maker's specification, not the feel of the yoke or a generic chart. The torque-wrench flare-nut checklist sets out those separate hold points.
Where the mobile workflow ends
Forming a flare is not the same as completing a refrigerant-circuit job. For stationary refrigeration, air-conditioning and heat-pump equipment containing F gas, the current GOV.UK qualifications guidance for F-gas work covers installation, servicing and leak checking among the activities requiring the appropriate individual qualification. If the job reaches sealed-circuit testing or commissioning outside your scope, leave the pipe protected and escalate through the agreed procedure.
Choose a kit only when it supports this workflow
If you have confirmed the tube sizes and need a case-based setup for this kind of mobile sequence, review the current flaring-kit details. The fit is conditional: it should support the specified work and preparation sequence, not stand in for them.