Why Copper Flares Crack After Cutting Uk
Short answer: a copper flare usually cracks because the tube end was left burred, distorted, scored, poorly supported or later over-tightened—not simply because it was cut. Start again with fresh tube if the end is no longer round, clean and sound; a better-looking flare is not a reliable repair for damaged copper.
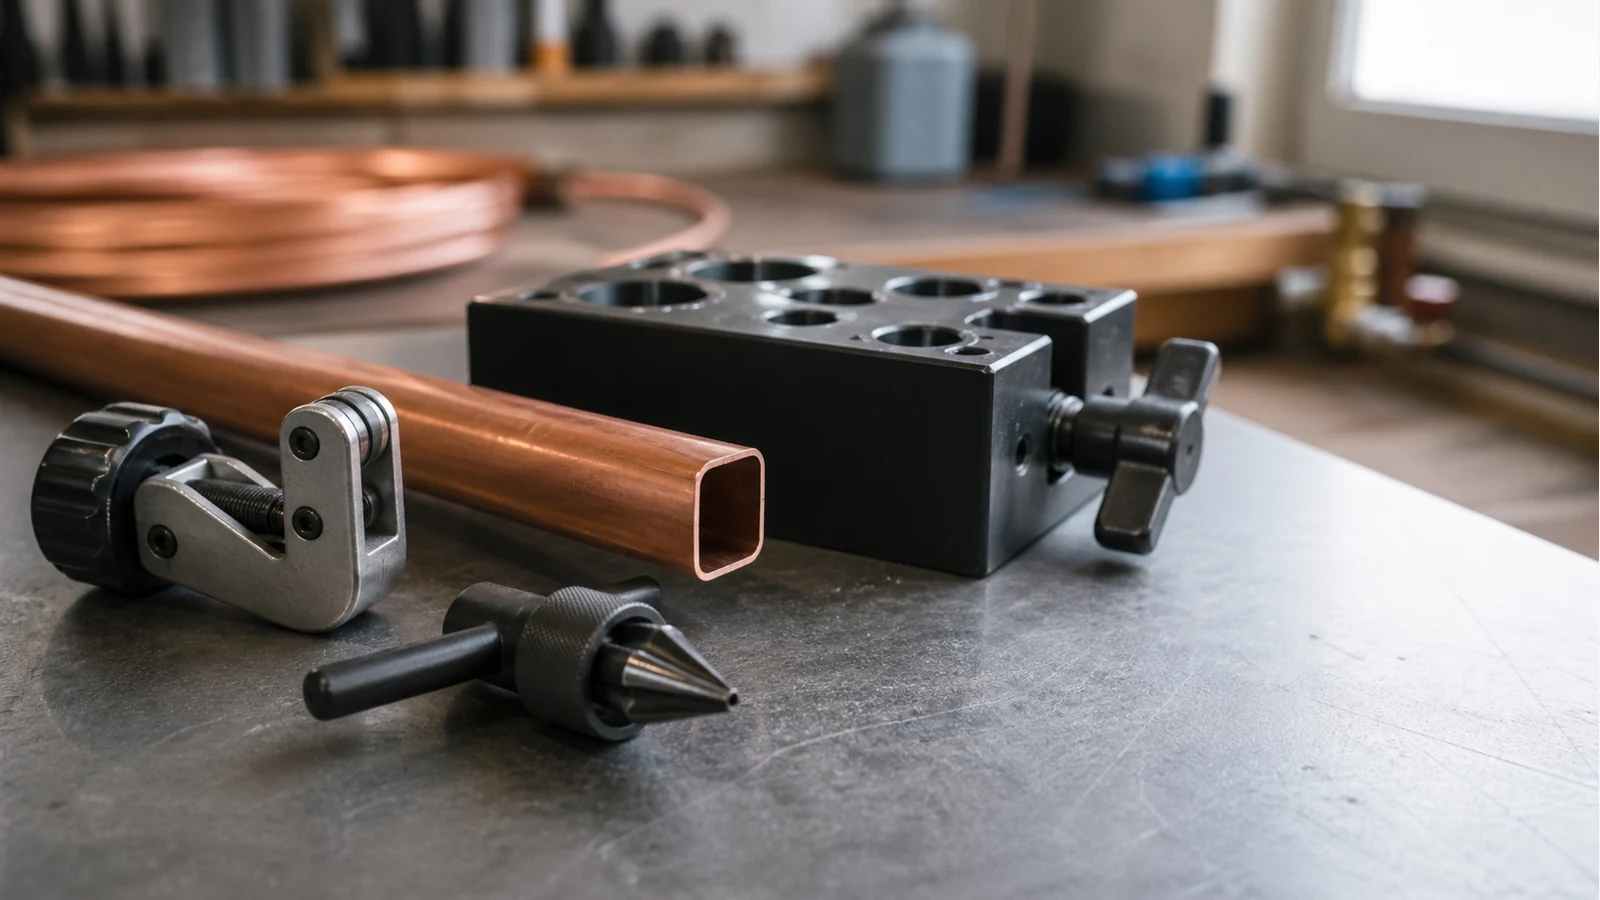
That distinction matters on air-conditioning and heat-pump pipework. A tube cutter can produce a neat-looking cut while still leaving a raised internal burr or a slightly pinched end. When that end is forced into a flare, the material can form unevenly. The practical aim is not to make a flare quickly; it is to begin with an end that gives the tool a fair chance of forming a smooth, even sealing surface.
What a crack after cutting usually points to
Start with the simple checks before blaming the flare tool:
- Not square: an angled cut gives the flare an uneven starting edge.
- Not round: a flattened, oval or heavily scored tube end will not sit evenly in the block.
- Burr still present: a sharp lip can drag, thin or mark the forming edge.
- Old damage carried forward: a previous flare, deep scratch, crush mark or short piece of tired tube is a reason to cut back.
- Wrong setup or excess force: a near-fit bar opening, incorrect projection or tightening beyond the equipment instruction can turn a marginal end into a cracked one.
A current Daikin installer reference guide for an R32 split system illustrates the useful baseline: cut with a pipe cutter, remove burrs with the cut facing down, then inspect the flare for a flawless inner surface and an even circular shape. Those are manufacturer instructions for that range, not a substitute for the manual for the unit in front of you.
A 60-second pre-flare checklist
- Read the unit documentation and confirm the tube outside diameter.
- Use a cutter to make a clean, square cut; do not squeeze a damaged end back into shape.
- Deburr carefully and keep swarf out of the tube.
- Look along the tube: reject a visibly oval, split, deeply scored or previously flared end.
- Match the flare-bar opening to the stated outside diameter. If the markings are confusing, use the metric-versus-imperial flare-bar size guide before clamping anything.
- Fit the correct nut before forming the flare, then follow the tool and equipment instructions for position and finish.
This short pause is cheaper than trying to rescue a joint after it has been tightened. It also makes fault-finding clearer: if the preparation was sound, you can assess the tool setup and the mating connection without guessing which earlier step caused the problem.
When to cut back instead of trying again on the same end
Cut back when the lip has cracked, the flare face has a deep score, the tube is no longer round, or there is too little clean material left after a failed attempt. Do the same if an existing flare has already been disturbed and you cannot establish that the fitting, nut and tube end remain compatible and undamaged. More force is not a repair method.
After cutting back, check that there is enough tube length and a sensible bend route before remaking the joint. If there is not, stop rather than stretching or pulling the pipe into position. The next decision—leave, remake or escalate a suspect existing end—is covered in our factory line-set flare decision guide.
What a good-looking flare cannot confirm
A visual inspection can reject obvious defects; it cannot prove a refrigeration circuit is leak-free, correctly evacuated or commissioned. Work that installs, services or leak-checks stationary air-conditioning, refrigeration and heat-pump equipment containing F gas has UK competence requirements. Check the current GOV.UK guidance on qualifications to work with F gas and the equipment maker's procedure before continuing with sealed-circuit work.
Choose equipment only when the job calls for it
If you are replacing a worn or unsuitable flaring setup after confirming the tube sizes and work scope, you can review the current flaring-kit details. The relevant condition is fit and repeatable preparation for the specified refrigeration tube—not a promise that a tool alone makes a joint leak-free.