Torque Wrench Flare Nut Checklist Uk F-Gas
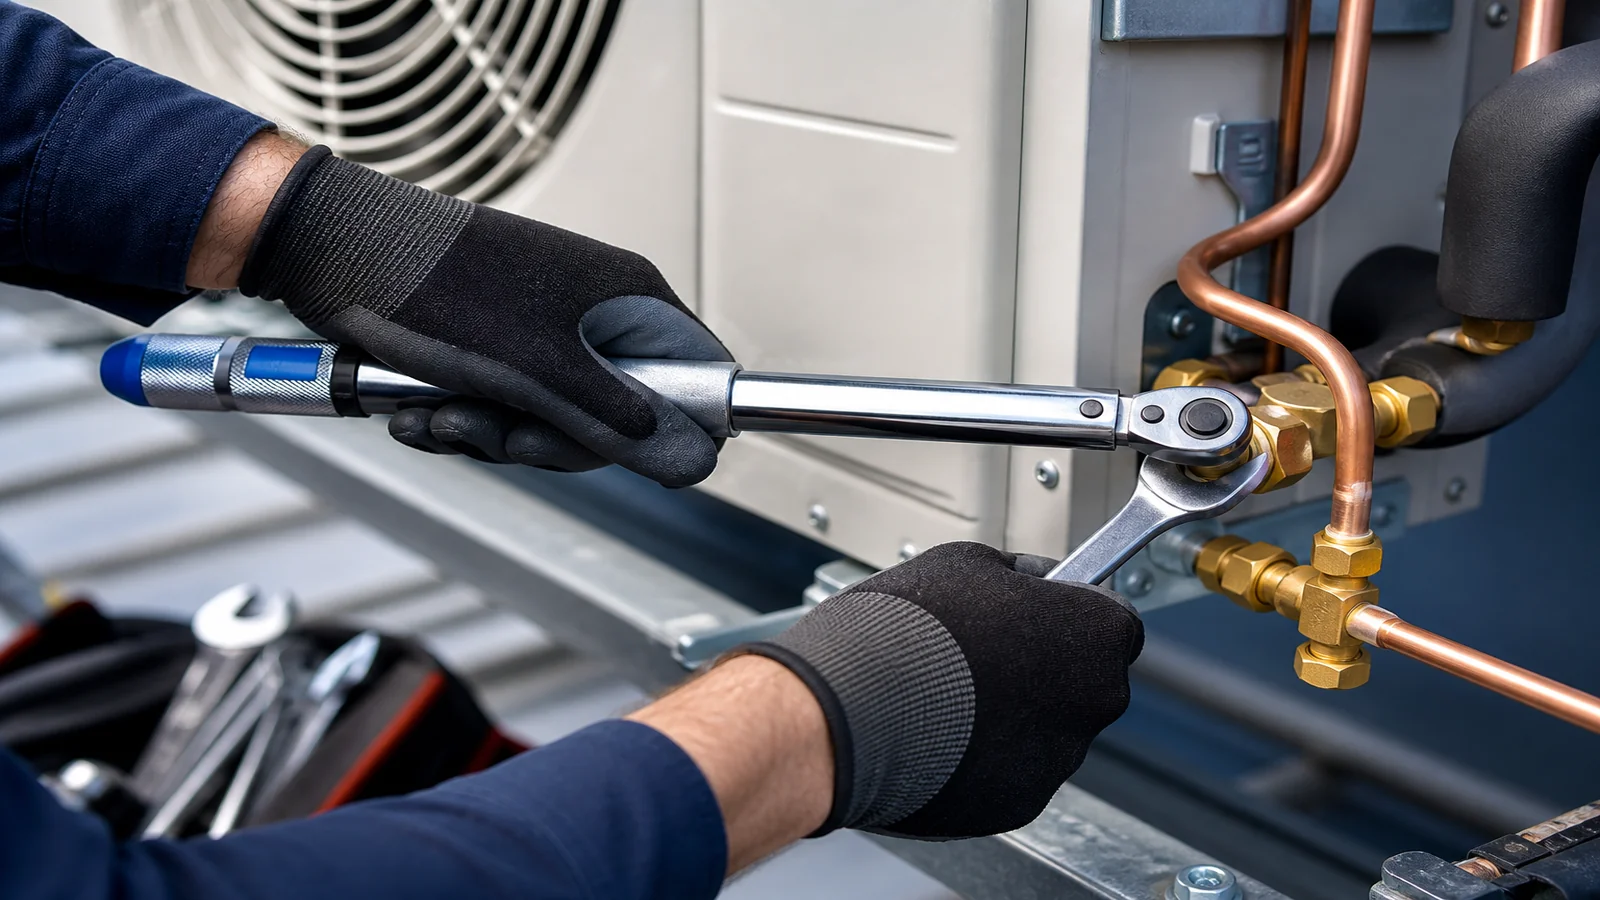
Short answer: the only torque value to use is the one specified for the exact unit, connection and pipe size in the current manufacturer documentation. Do not copy a generic number from a forum, a kit label or a different model's manual. A torque wrench is part of a controlled assembly method: identify the connection, inspect the new flare and correct nut, hand-start it, counter-hold the fitting and then use the specified setting and follow-up checks.
This checklist is a hold-point aid for F-gas engineers tightening flare nuts on stationary refrigeration, air-conditioning and heat-pump pipework. It does not publish universal torque figures, certify a joint or replace the equipment installation manual.
Why "tight enough" is not a method
Too little tightening can leave a poor seal; too much can damage the nut, flare or fitting. The risks are not symmetrical and they do not disappear because the joint looks neat. The correct setting can differ by manufacturer, pipe outside diameter, fitting geometry and model. That is why the right answer is to read the installation manual before the wrench is set, not to memorise a universal figure.
As one manufacturer example, the Daikin R32 split installer reference guide says to align the flares, hand-tighten the nut for several turns and use a spanner plus torque wrench together. It gives its own pipe-size-specific values and warns that the method helps prevent nut cracking and leaks. Use that document only for the Daikin model it covers; take the equivalent information from the manual for the system you are actually fitting.
Before you reach for the wrench
- Identify the exact unit and manual revision. Confirm which connection you are working on, not only the nominal line size.
- Confirm the pipe outside diameter and specified flare nut. Do not interchange nuts because their threads appear to start.
- Inspect the prepared flare. It should be even and free from visible splits, folds or scores. If it is not, recut and remake rather than relying on force; see why copper flares crack after cutting for the preparation decision.
- Set up the correct tools. Use the specified torque wrench and a suitable spanner to counter-hold the matching fitting. Do not put torque through a pipe or valve body in a way the manual does not permit.
- Read the rest of the connection sequence. The torque value is not the entire procedure. The manual may specify flare-nut handling, lubricant type, valve position, checks and commissioning order.
During assembly
Align the components without side loading. Hand-start the nut as the manufacturer directs; if it will not start cleanly, stop rather than using a wrench to force engagement. Counter-hold the fitting with the spanner and bring the nut to the documented torque with the wrench. Do not add an "extra nip" after the wrench indicates the specified setting unless the manufacturer explicitly instructs otherwise.
After assembly: keep the next stage separate
Marking a nut as tightened can be useful in a controlled work process, but it is not evidence that the system has passed the required commissioning checks. Use the model-specific instructions for the rest of the installation. If a leak is later detected on relevant F-Gas equipment, GOV.UK's F-Gas leak-check guidance says it must be repaired as soon as possible and checked again to show the repair worked. The applicable duty, interval and records depend on the equipment, so this article does not replace the current regulations or job documentation.
Quick stop checklist
- Stop if you do not have the exact manual value for this connection.
- Stop if the flare is damaged, the nut is suspect or the thread will not hand-start.
- Stop if the counter-hold point is unclear or the pipe is being twisted.
- Stop if someone asks for a generic torque number "just to get it done".
- Stop if the work is being treated as complete before the manufacturer-directed checks and records are finished.
F-Gas boundary
A torque wrench helps apply a documented assembly setting; it does not confer qualification, certify a company, validate a leak test or replace the current equipment instructions. For the wider heat-pump process, read heat-pump refrigerant flare joints.
When a kit page is useful
If the job scope and compatible tube sizes are already confirmed and you are assessing an organised preparation kit, consult the tool-kit product page for fit information. It should complement, never replace, the unit-specific torque wrench and commissioning requirements.