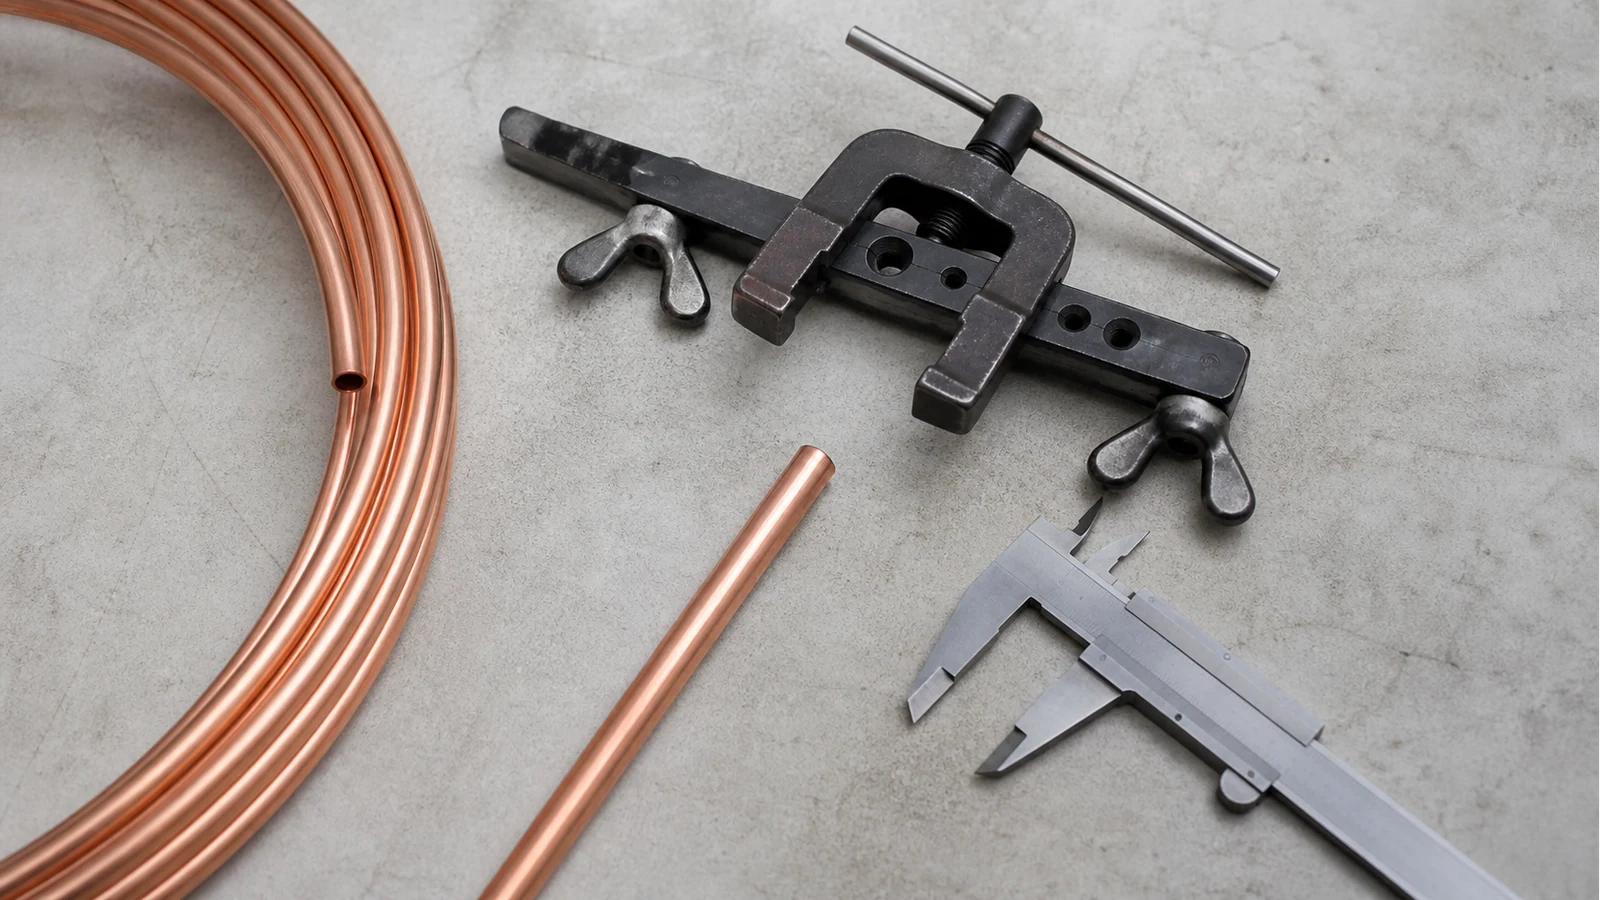
Metric Vs Imperial Flare Bar Sizes Uk Aircon
Short answer: match the flare bar to the copper tube's stated outside diameter and the tool maker's marking. Do not choose a hole because it looks close, and do not assume a metric label and an imperial label are interchangeable without checking the actual size.
The confusion is understandable. Domestic split-system pipework is often sold in inch-based nominal sizes, while manuals, callipers and some product labels use millimetres. Both descriptions can refer to the same outside diameter, but a rounded metric label is not permission to use the next-nearest flare-bar opening.
What the two systems are describing
Imperial names describe fractions of an inch; metric dimensions describe the same physical outside diameter in millimetres. Useful reference pairs are 1/4 in = 6.35 mm, 5/16 in = 7.94 mm, 3/8 in = 9.53 mm, 1/2 in = 12.70 mm, 5/8 in = 15.88 mm and 3/4 in = 19.05 mm. Treat those as a way to read labels, not as a universal setting chart: the pipe specification, unit manual and flare-tool instructions control the job.
The important word is outside. A flare bar grips the outside of the tube. Measuring the inside diameter, reading insulation thickness or estimating from a photo can send you to the wrong opening even when the numbers appear familiar.
Use this decision table before clamping
| What you have | Best next check | Do not do this |
|---|---|---|
| A line-set label or unit manual | Use the stated pipe outside diameter, then match it to the tool's marking. | Convert it loosely and choose a near-size hole. |
| An unlabelled tube | Measure its outside diameter with a suitable calliper or gauge, then check the equipment and tool documentation. | Guess from the insulation or from another job. |
| A bar with both styles of marking | Confirm that the two markings identify the same physical opening. | Assume all metric/imperial markings use the same rounding convention. |
| A tube that does not sit naturally | Stop and re-check the size, roundness and tool compatibility. | Force it into the opening or tighten the clamp harder. |
Why a near-fit opening is a reject condition
A flare starts with the tube held squarely and evenly. If the opening is too tight, the tube can be marked, squeezed or held off-centre. If it is too loose, it can move while the flare is being formed. Either way, you have added a variable before the sealing face even exists. That is one common route from a quick setup to the kind of damage described in our guide to cracked copper flares.
Manufacturer instructions are a useful tie-breaker when tool labels and field measurements feel ambiguous. For example, the Daikin installer reference guide for its covered R32 split-system range sets out a model-specific pipe-preparation and flare process. That is why the system documentation should beat a generic chart or a remembered setup.
A safe identification sequence
- Read the pipe size from the unit paperwork or marking where available.
- Confirm that you are measuring the bare copper tube outside diameter.
- Match that diameter to the exact flare-bar marking specified by the tool maker.
- Check the matching flare nut and connection type before forming anything.
- Make the flare only when the tube sits squarely and naturally in the correct opening.
If the question is really about an existing factory end rather than an unformed tube, first decide whether it should be left alone or remade. Use the factory line-set flare decision guide rather than treating every old flare as a sizing exercise.
Buying a bar or kit: keep the decision conditional
If you have confirmed the tube sizes you actually encounter and need a tool to cover that scope, the current flaring-kit details are a sensible next place to check the supplied specification. The relevant test is coverage of your stated tube sizes and instructions, not a claim that one set of labels fits every aircon installation.